Thursday, May 20, 2010

Going green with party signs


I've been working on baby shower party signs, and Happy Birthday signs, too. They are made out of fabric and can be used again and again! How very earth friendly, right? I haven't finished the birthday one yet, but here's a peak at the baby shower one... it's reversible! One side is in pink and brown central park toile, and says "It's A Girl" the other is in blue and brown central park toile, and says "It's A Boy!" - I had to put the exclamation point on the Boy side to have an equal number of flags. I cut the triangles 6" by 6" and then embroidered one letter per flag. Then I connected the two flags together on my serger using a rolled hem with wooly nylon. Then connected each flag together using a pre-made cream double fold binding.


I'm linking this little project to I Made It on Everything Etsy.

Monday, May 10, 2010

Mother's Day pillows

I decided to make embroidered pillows for both my mom and mother-in-law this year for Mother's Day. I recently made Euro Shams to match my ottoman in the living room, and it was the first pillow I'd made in over two decades! (I'll apologize for these pictures now, they were taken on my iphone, and the sun was coming into the room... I'll try to take better ones soon.) It was also the first time ever I made cording too. I'm very proud of them, and think they turned out great!


This was the pillow I made for my mother-in-law. The fabric was actually one I had from recovering my chairs for my dining room/kitchen table. It matches her family room perfectly! The quote on the pillow is "God could not be everywhere, and therefore He made mothers."


This is the one I made for my mom... I couldn't post a picture until today, since it didn't get to her in California until this afternoon. (oops!) Her's says "Mothers hold their children's hands for a short while, but their hearts forever." I've been in love with damask prints for awhile, and when I came across this fabric I HAD to have it! It also will match my sister's bedroom... I think I'll have to come up with something pretty for her, too!


Best part of this project? No CPSIA labeling requirements! HA!

Saturday, May 8, 2010

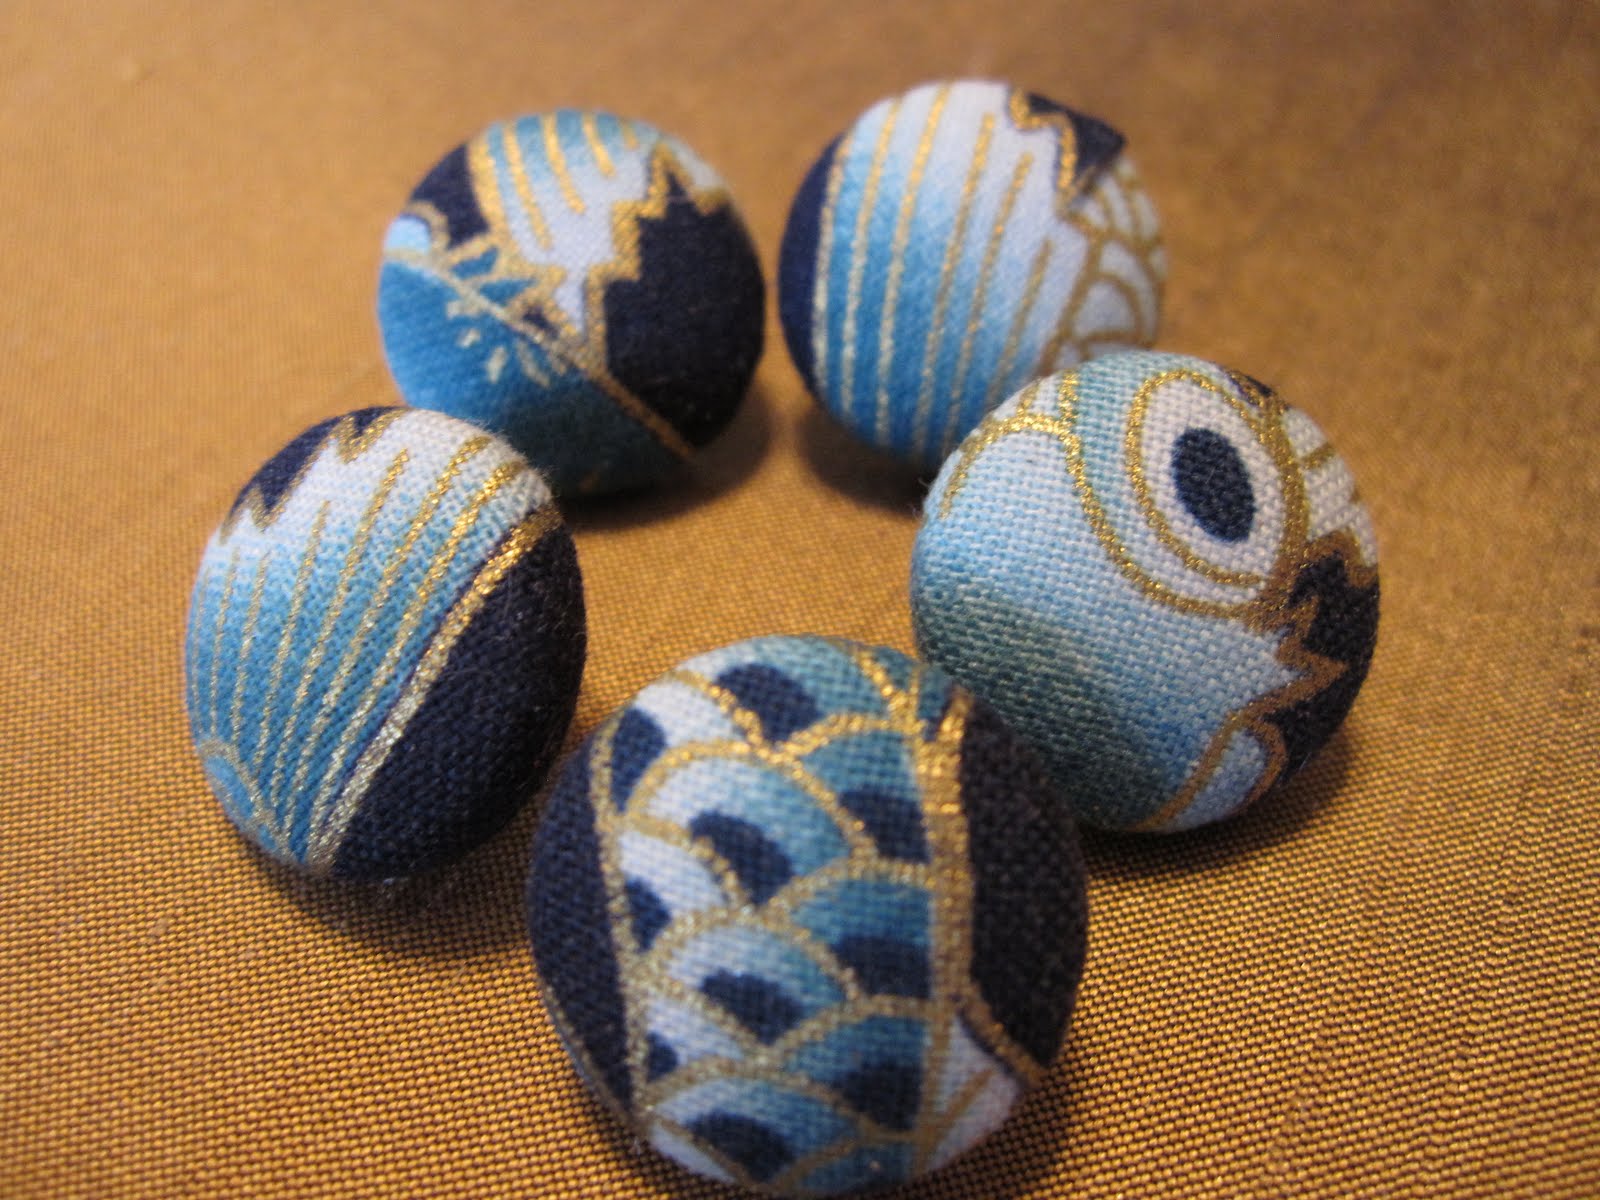
Fabric Covered Button O.B.S.E.S.S.I.O.N

Ever since I turned this white Target coffee table into my beloved covered ottoman, I've been a little obsessed with fabric covered buttons.

**(On a side note, my husband and I bought our home in May of 2008... it was built in 1928. The owners previous to us were not only smokers, but had a dog with full run of the house... and wall to wall carpet, except for the front entryway and kitchen which were a hideous linoleum. We immediately ripped out the carpets, and had the pine floors underneath refinished... but it took us (read : me) awhile to do anything with the kitchen... looking at this photo now, I can barely remember how awful it was!!! But, that is a post, (or several) all in itself!)


After priming, and two coats of paint to match the brown on the walls, I drilled holes where I wanted the buttons to be, then covered the table with foam, then topped it with quilt batting, and then the fabric. My husband was a HUGE help with pulling on the fabric and stapling the undersides while I made sure my corners looked perfect. I think I'm a pretty easy going gal, but can have the occasional OCD tendancies. If you look closely at this picture, you'll notice that the fabric on each button matches {exactly} to the fabric on the ottoman underneath. :)


Which brings me to my most recent project, soon to hit my ETSY store, and craft shows! Fabric covered pushpins! I love them! I've also made magnets and cufflinks.
Here are a few photos of what I've been up to.


Sunday, May 2, 2010

Trash to Treasure

Last week when I got home from work I noticed our new neighbor trying to remove this old horse statue from her front yard. It looks like it could be original to the block... our house was built in 1928. She was really struggling trying to get it out of the ground. I gave my husband (who works in the horse racing industry) a call to see if he wanted me to ask her if we could have it. Obviously, he said "Yes"! I headed out to let her know she could stop struggling with it, and he'd get it out when he got home from work. The next day he started working on removing the dirt, peeling paint, and years of exposure to the Long Island elements.


And, after only one coat of paint, here she is! I joke that my husband is my "demo guy" - better at taking things apart than putting them back together, but, clearly he's hiding some DIY talent. I am really proud of him!


Now, we start to hunt for a lawn jockey to fix up!

Sunday, March 28, 2010

When life hands you a chayote...

Yesterday, my husband headed off to the grocery store with a list in hand... one of the items on the list? two avocados...

This is what he came home with...

After asking him to check the receipt, we determined he'd actually purchased "Squash Chayo" - our grocery store's lingo for Chayote Squash.

I quickly googled chayote squash and the first recipe that I clicked on sounded pretty easy. We both thought it was delicious! I only used one of the two chayotes, so we'll have a repeat side dish sometime later this week. It took less than 10 minutes, including chopping time. That's my kind of side dish!


Ingredients
1 tablespoon olive oil 1 clove garlic, minced 1 chayote squash, cut into 1/2-inch strips 1/2 teaspoon salt ground black pepper to taste 1/2 teaspoon white sugar 1/4 teaspoon red pepper flakes (optional) 1 tablespoon red wine vinegar

Directions
Heat olive oil in medium skillet over medium-high heat. When oil is hot, add garlic, squash, salt, pepper, sugar, and red pepper flakes. Stir together and cook 2 to 3 minutes.
Add vinegar to the squash mixture and cook 2 to 3 minutes longer, until the squash is slightly wilted, but still firm and crunchy. Taste, and add more salt or sugar if needed.


I think I added more red pepper flakes than the recipe called for {we like things spicy around here!} so it had a definite kick to it. After cooking for a total of six minutes, it still had a lot of crunch to it.

I still don't have my avocados, but we learned something new... when the hubby brings home a Chayote, make it into a side dish!!

Sunday, March 7, 2010

Mission Organization

Last weekend I decided it was time to overhaul my craft/sewing room. When we first moved into our home, this room had wall to wall DARK wood paneling. Our home was built in 1928, and almost all of our wall surfaces are either paneling or plaster (imagine painting an english muffin - with all it's glourious nooks and crannies)! In an effort to spice things up, I decided this was a perfect room to paint stripes on my walls. All I needed to do was prime the paneling, and I'd have built in lines without needing to pull out the level or painters tape! My husband lovingly calls this the "Good n' Plenty" room, the colors are very similar to the candy box. We just purchased a miter saw, and crown moulding is near the top of my 'to do' list.

This side of the room is my 'paper crafting' section, the bookcase is organizing my stamps, inks, card and scrapbooking supplies. It's also our mail center - I had to come up with a system for my husband to organize incoming mail when I'm away on trips. I don't know about you, but there's something that I just LOATHE about a pile of mail sitting on my kitchen table!


This is the sewing section. Before last weekend, I didn't have a real system set up for my bookcases. The plastic bins were stacked on the floor, and I had quite a few supplies that I rarely use taking up space. I took the lesser used items down to the basement and dedicated one bookcase just to fabric and sewing supplies.


An unused wine rack is now a perfect storage solution for my cricut expression. The wine bottle slots are perfect for holding my rolls of vinyl and stabilizers! I also love that it's more of a counter height!


All I need to figure out is a way to incorporate a cutting table and ironing station in here, too! I'm still using the kitchen table to cut fabric, and the ironing board has been set up in the guest room... one thing at a time, I suppose!

Wednesday, March 3, 2010

Understanding a Serger


Today I begin classes at a local sewing store to learn everything you could ever want to know about a serger! I'm actually heading out to purchase my first serger in a few moments, because obviously, I'll need it to bring to the class. I'm pretty sure I've decided to go with a Brother model, (I currently own two Brother machines, my regular sewing machine and my embroidery machine). The Brother 1034D has good reviews for a 4 thread serger at a very low price point. I'm also considering a Singer machine.
Perhaps down the road, I'll invest in a big daddy machine with a 5th thread option, but for now, I think either of these machines would be just fine.


**Update, I did end up going with the Singer machine, as of July I still love it. It does pretty much everything I need, and the price was just perfect!